A quick guide to molding & casting
The master
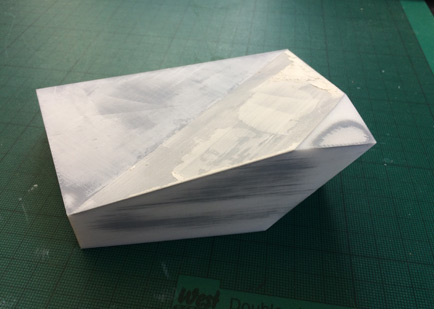
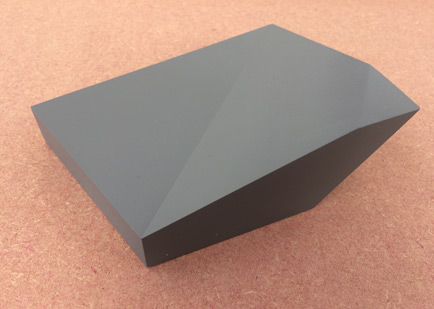
The first thing to do is to get the master to the finish you want. The cast will only ever be as good as the master. Take time to sand and fill any blemishes. Spraying with grey primer will help show any problems. For this particular cast, we are aiming for a matt finish as it will be lit from underneath using LEDs, and this finish will help disperse the light more evenly. For this reason, a final coat of grey matt primer before molding, will be sufficient.
Making a styrene box
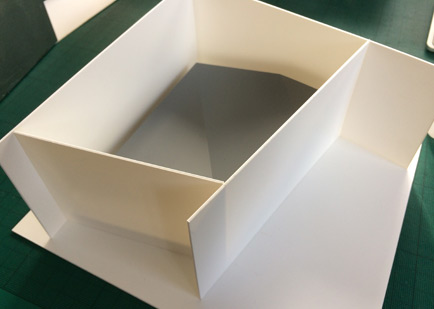
You will need to create an open box to pour the silicone into. For this we have used styrene as it is a cheap material and can be put together quickly with plastic weld, in this case, chloroform. It is best to double side the master down and build the walls around it as you want to avoid touching the master just before molding.
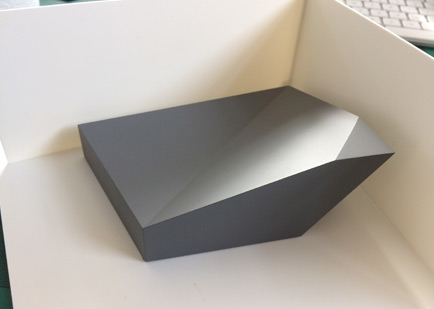
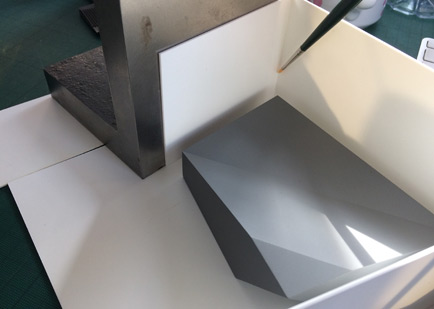
You should leave enough space around the master for the silicone rubber. In this case, we have left a 15mm border. Once the walls have been glued together, you will need to plug the holes and joins with superglue. The oils in plasticine and clay can affect the silicone, therefore superglue is used.

Pouring the silicone rubber
We are using Platsil gel-25. It is a 50-50 part mix. It is best to “double mix”. Just decanter the first mix into a new bucket and mix again. It will then need to go into a vacuum chamber to help minimise the air bubbles.
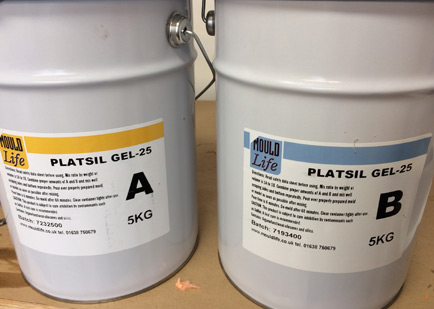
Platsil gel silicone rubber
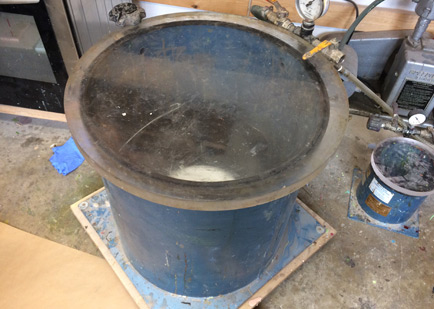
Use a vacuum chamber to remove air bubbles
It is now ready to pour the silicone into the styrene box. It is best to pour into one corner from a height, letting the silicone ‘fold’ over the master. This will also help minimise the air bubbles. It may be necessary to remove air bubbles by hand, using a toothpick. For this particular building, the point at the top of the building created an air pocket in the silicone, so this technique was used to remove the air bubbles.
Demolding and cleaning
Once the silicone has cured, it is time to demold. Simply tear the styrene off the mold. You can remove any unwanted silicone by running a clean sharp scalpel blade around the master. Gently pull the mold away from the master, gradually working your way around the edges until the master is released with ease. Avoid being too rough with the mold.
Casting the resin
Lightly spray the inside of the silicone mold with a release agent. Silicone only sticks to itself, however it is always best to add a release agent to avoid damage to the mold when demolding. You are now ready to cast the resin.
Here we have used Poly optic 1411 clear cast resin. Simply mix the two parts together as suggested on the bottle. Remember to wear gloves and to follow the safety precautions as stated on the packaging.
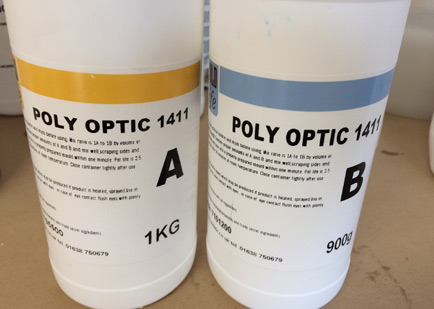
Poly Optic 1411 clear cast resin

Use a vacuum chamber to remove air bubbles
The resin was double mixed and added to the vacuum chamber to minimise air bubbles. Using an oven, allows you to keep the temperature consistent. This is especially useful in cold environments, as the resin can shrink.
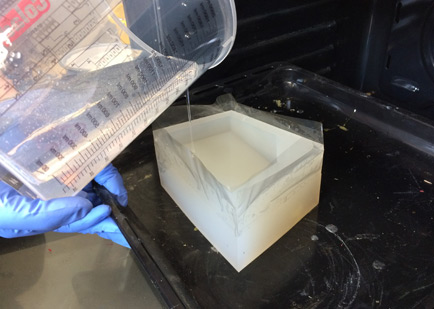
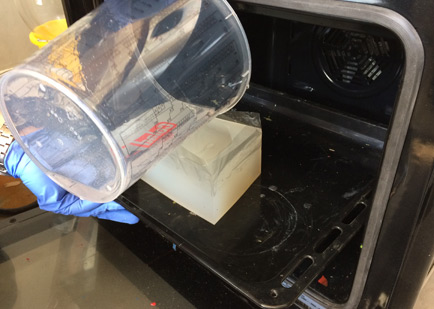
The cast
Once the resin has cured, it is time to remove from the mold. Gently pull the silicone mold away from the cast as before with the master.
The cast will require some cleaning. For a gloss finish, you will need to buff and polish to the desired finish. For this particular cast, we went for a matt frosted effect so light could disperse evenly through the building.
Here is the final result. A 1/200 competition model. The building and walkways have been illuminated from an LED lighting plate underneath the baseboard. Brass etched canopies and walkways were used to provide a striking balance against the black baseboard.
More pictures of the model can be seen on our projects page here.
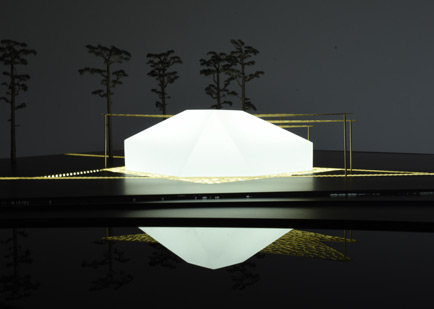
Madrid competition model illuminated
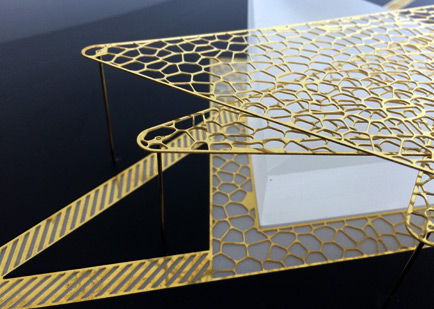
Madrid competition model detail


