Cleaning and maintaining your laser cutter
We take pride in our tools and machines here at TaylorMade Model Makers and that means making sure they are cleaned and maintained on a regular basis. Here we look at how to clean one of our laser cutting machines - The Universal Laser X660 60watt with a bed size of 800mm x 450mm.
Depending on the usage of the laser cutter, in most workshops they are often cleaned anywhere between twice a week and once a month. We check and clean our lasers once a week to make sure it is running to its full potential.
Removing the table
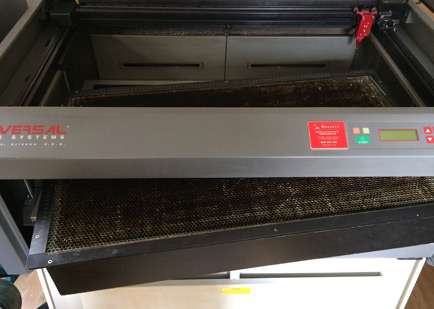
Removing the table from the front flap.
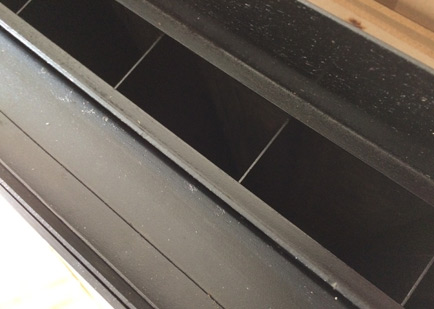
Easy access to cleaning the table.
The first thing to do is to make sure the machine is switched off. The honeycomb downdraft cutting table can then be removed via the front flap of the machine. This honeycomb table is where most of the unwanted offcut materials that are small enough to drop through the holes, are collected. Shake gently and this will remove most of the parts but it is good to vacuum out the remaining parts. There is access at the back of the table via segregated sections which will allow easy removal of these scrap parts.
Under the hood

An empty laser allows easy access for cleaning.

Moving the bed up and down allows access to all parts.
With the downdraft table out of the way, there is plenty of room to give the insides of the machine a good clean. It can get fairly dusty inside and loose materials can also get blown into unwanted places. A good vacuum usually does the trick. Be careful around the mechanical parts and avoid the lenses and mirrors.
It may be necessary to move the metal plated bed up and down to get to all the places, this will mean turning the laser on. Once the bed is in the desired position, make sure the laser is switched off again before vacuuming.
General clean

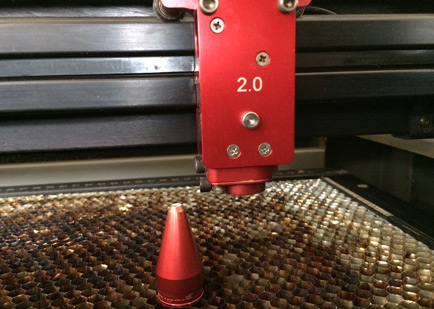
It is good to wipe down any residue left by the laser burn and materials. A cloth and some soapy water will get rid of most of the residue. The rulers on the honeycomb bed are often the dirtiest.
The nozzle on the main laser head often picks up residue from the materials being cut. Simply remove and clean the powder from the tip.
Now that the laser has had a general clean, we move on to cleaning the lenses and mirrors. We tend to clean the lenses and mirrors last as there is less chance of getting them covered in dust or dirt.
Cleaning the lenses and mirrors

Cleaning fluid and cotton tipped applicators.
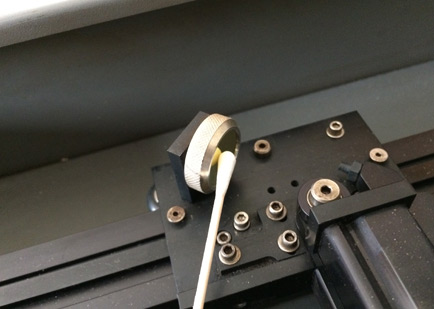
Apply the lens fluid with cotton tipped applicators.
The lenses and mirrors are the most delicate parts of the machine and require specialist cleaning consumables to avoid damage.
Lens fluid can be applied to the lenses and mirrors with cotton tipped applicators. Be careful as some applicators contain glue content and when mixed with the fluid, can cause harmful residues. You can also buy lens cleaning tissues which are useful for gently wiping away any remaining residue.
The cotton tipped applicators and lens tissues are one-use only. Useful tip: Gently apply the lens fluid with an applicator with several single swipe actions. Avoid rubbing back and forth as this could cause damage if a fragment is caught on the lens/mirror. The same applies for the lens tissues.
Lens one

The lens and mirror are located in the main head of the laser.
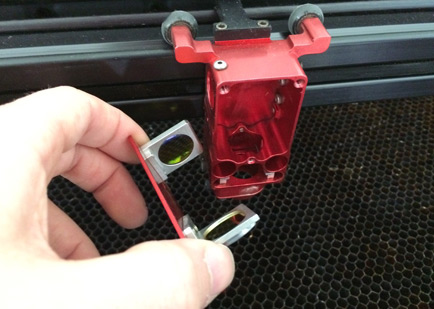
Pull out the plate containing lens and mirror.
Lens one can be accessed by removing the three screws to the front of the main head. Place the screws to the side to avoid losing them in the honeycomb bed. Simply pull out the plate which contains the first lens and mirror. By using the techniques above, clean the mirror and lens, slot back into place and return the screws.
Check your mirrors

The mirror can be located on the end of the main laser arm.
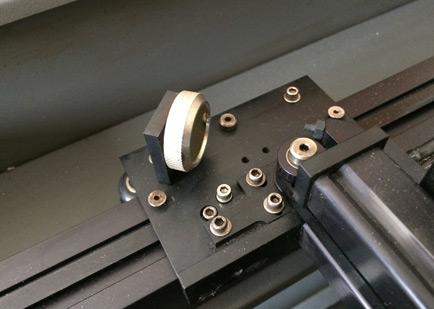
Remove the cover to access the mirror.
The second mirror is located under the box on the left of the main laser arm. There is one screw to remove. Lift the box to access the mirror. Clean the mirror using the techniques mentioned above and replace the box and screw.
Last lens
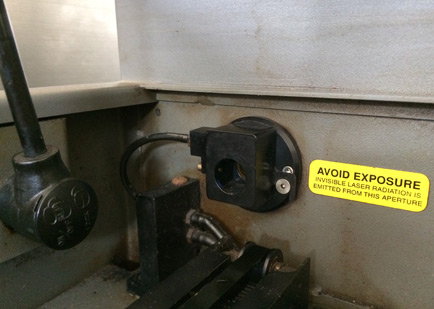
The lens is covered with a cap.
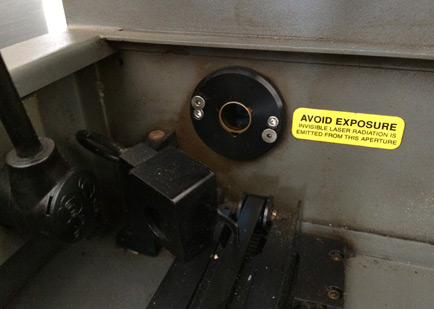
Twist the cover off to reveal the lens.
The last lens is located at the back of the machine. You can access it by twisting off the cover which is held in place either side. Once the lens has been cleaned, place the cover back making sure it has been located correctly.
Test
Make sure the honeycomb table has been located properly and that the rulers line up parallel to the sides. Once all the parts have been cleaned and reinstated, it is good to turn the laser on and to check everything is working correctly. Move the bed up and down to check that it moves freely and that the laser head moves along the x and y axis without any issues.


